Last Updated on November 21, 2022 by arun
First of all – I am not a designer and this post is part of learning different tools to make blog posts look better and more beautiful. if I have to define Pablo in one line then it is the ” Fastest tool to get images with the text’
If you’re looking for an easy way to create decent high-quality images then Pablo is a good tool to try. With Pablo, you can easily create beautiful and professional images without any prior experience or design knowledge. Plus, Pablo is free to use! So what are you waiting for? Try this awesome tool.
How to create images with Pablo – Step by Step Guide
Anyone can make eye-catching pictures using Pablo. Just go to bufferapp.com/pablo and listen to Pablo’s playlist without having to create an account or spend any money.

Step 1 – Select BackGround Image –
Go to https://pablo.buffer.com/ and in the image gallery on the left, you’ll discover a wide selection of options. If you can’t find the right image among the provided possibilities, you can always explore through the 600,000+ alternatives that Pablo provides, or you can upload your own. Get a preview of the image you’ll be editing in the centre panel.
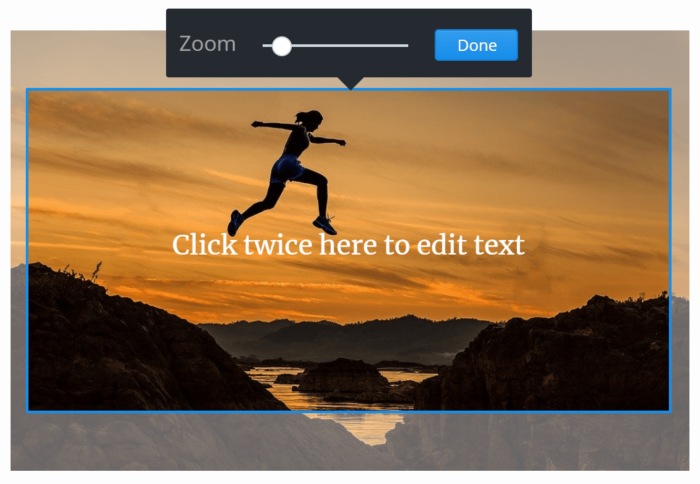
Step 2 – Reposition –
When you find the right photo, you may move it about to make it seem just right. Just go to the top and select the Reposition link, then drag the image about and/or zoom in until it’s just right, and finally click the Done button.

Step 3 – Select Image Size
Some other picture editing tools may be found on the right. You may begin by selecting an appropriate picture size from among the three most common social media options: Pinterest, Instagram, and either Facebook or Twitter.

Step 4 – Apply Filter When you’re ready, move on to the next step and start modifying your image with different filters. By default, Light Contrast is used.You can also choose None, Heavy Contrast, Light Blur, Heavy Blur etc.

Step 5 – Add Text It’s time to give your picture some words. On the right side of the page, you may choose to display a Header, Body, or Caption. Put the text areas anywhere you desire on the picture. The text’s font, size, colour, and alignment are all customizable. Once you click the text, a menu bar will pop up with all the editing tools you need.
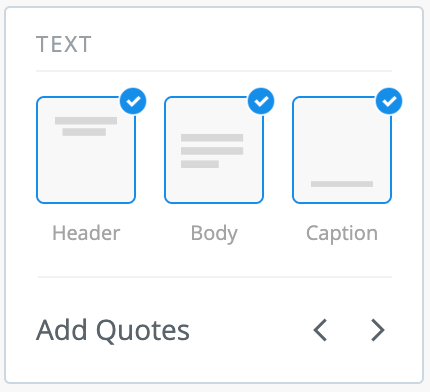
Step 6 – Add Quotes
Pablo has several quotations to choose from. Simply use the arrows to the right of Add Quotes to look through different quotations and select the one that speaks to you.
![]()
Step 7 – Insert Logo or Graphic
Adding a logo or graphic to your image is the last available option on the right. Select a file from your computer and then click the Insert Logo or Graphic button. Once the logo has been uploaded, you may adjust its location, size, and border radius as needed.
Step 8 – Share & Download
It’s time to share your photograph. You can choose to save the image and use it however you wish in addition to sharing it on Facebook, Twitter, Pinterest, or adding it to your Buffer queue.
Example:
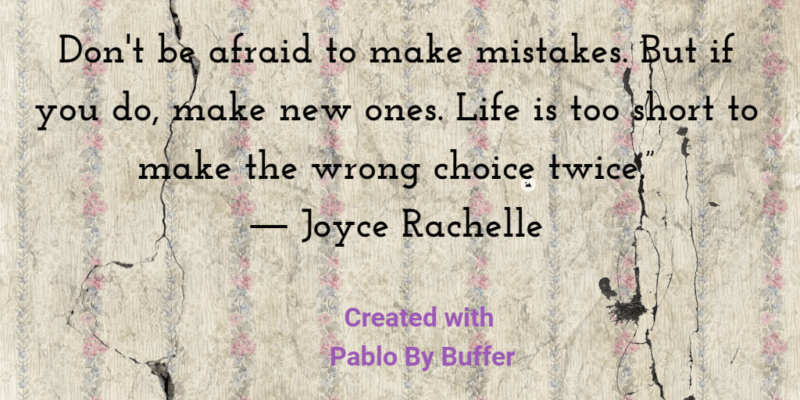
Example – Above image (quote image) is created by me with Pable
You can also check the video below :
Pable Rating or User Reviews
Images Credit : https://pablo.buffer.com/
On DigitalYantras, I share my thoughts, and experiments with various digital marketing tools. I offer blogging, guest posting services . Let’s connect on arungarg.seo @ gmail.com